|
|
|
|
|
On this page I'll show you the build of the Universal Pod for the CH-54 in 1/100 scale
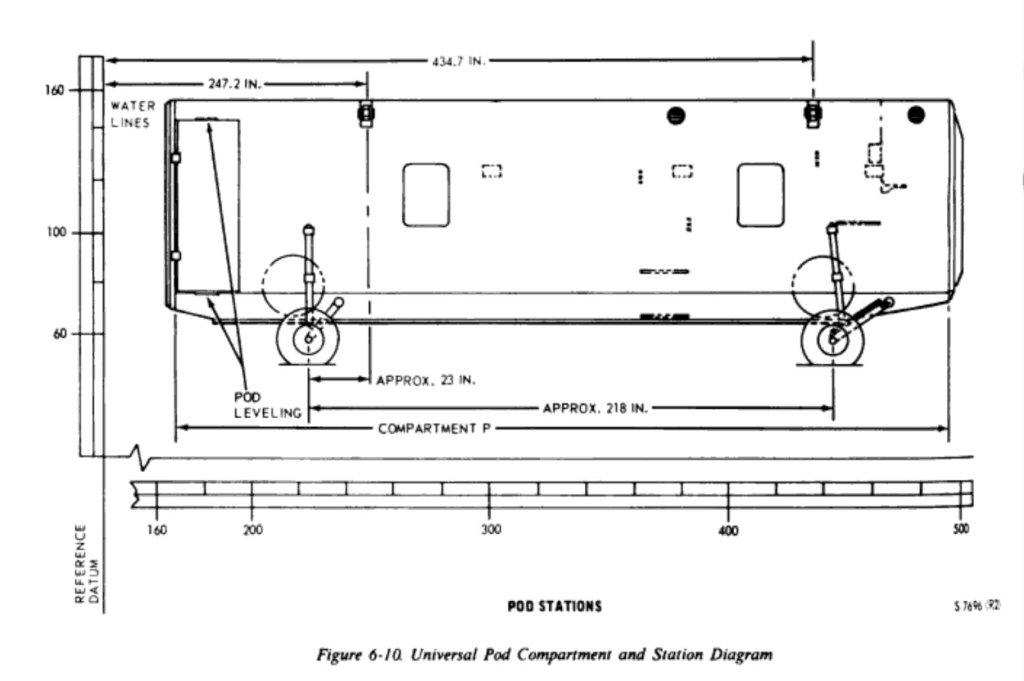
After searching the internet for information on the Pod as provided by Tamiya i couldn't find much info unfortunately. There were plenty of pictures of the other personnel pod however, so I decided to scratchbuild one in 1/100 scale I couldn't find a picture with exact dimensions but there was some info on the net, so I based it on this picture from the Skycrane operational Manual
|
|
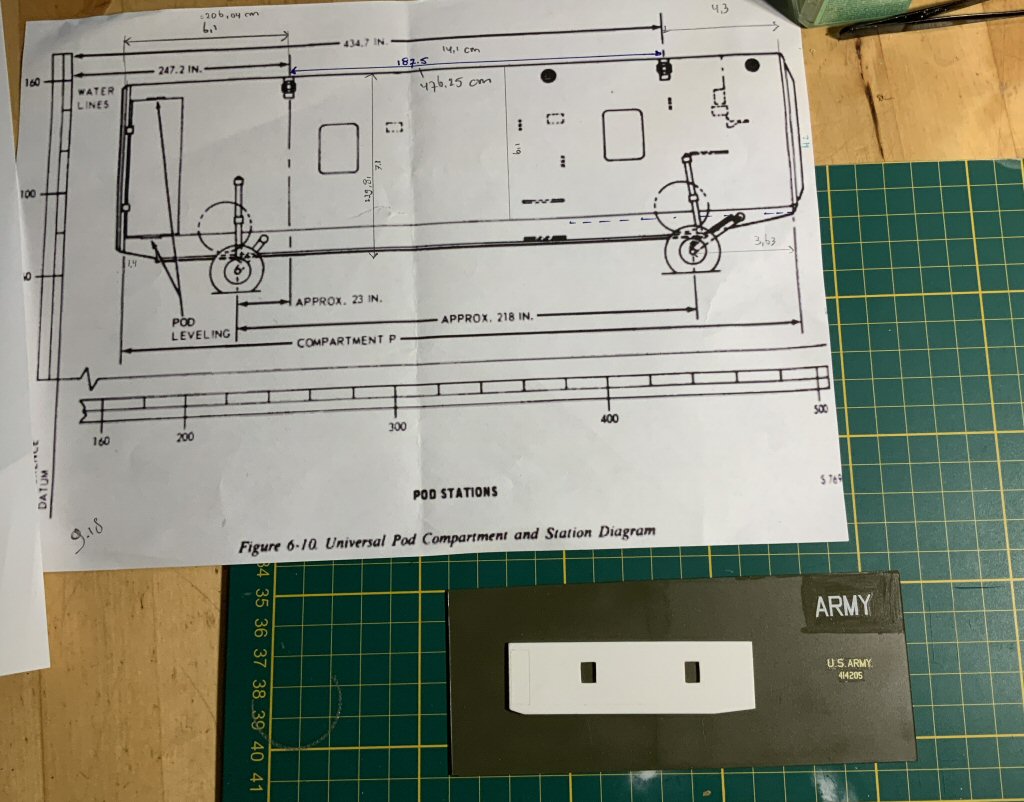
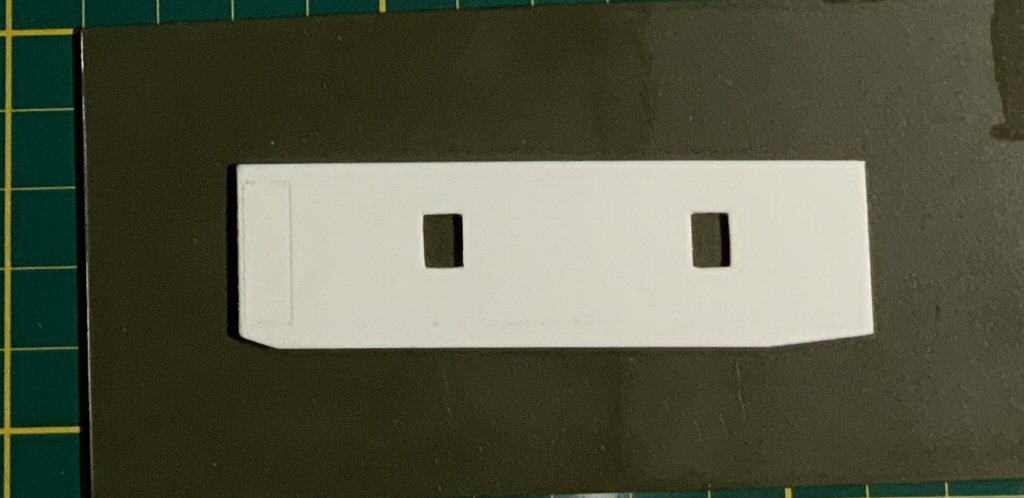
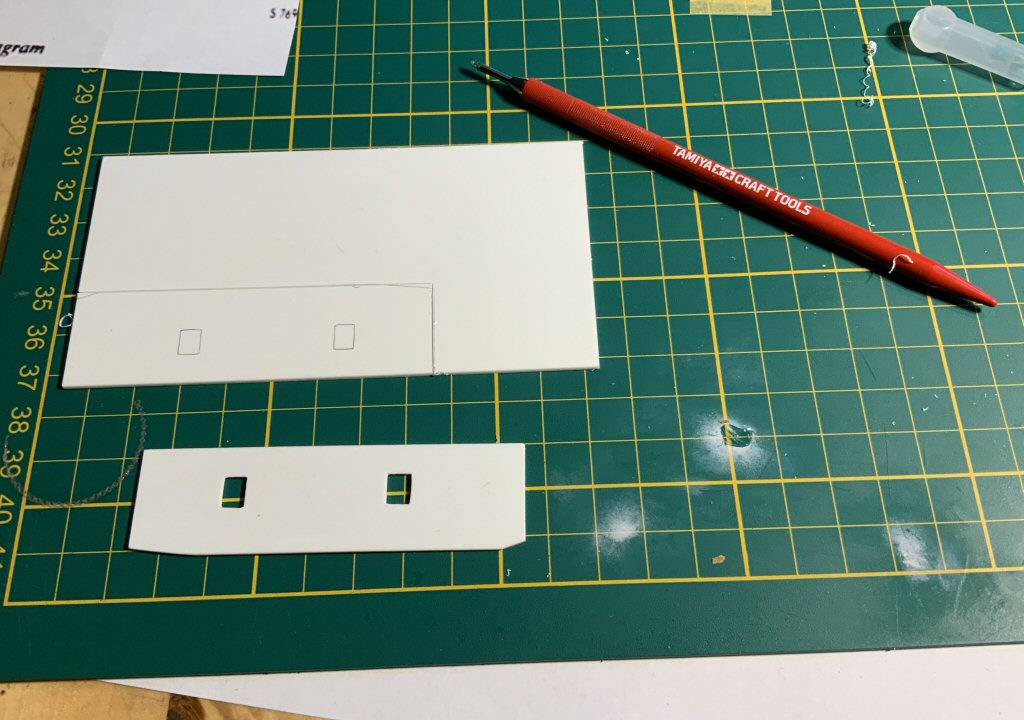
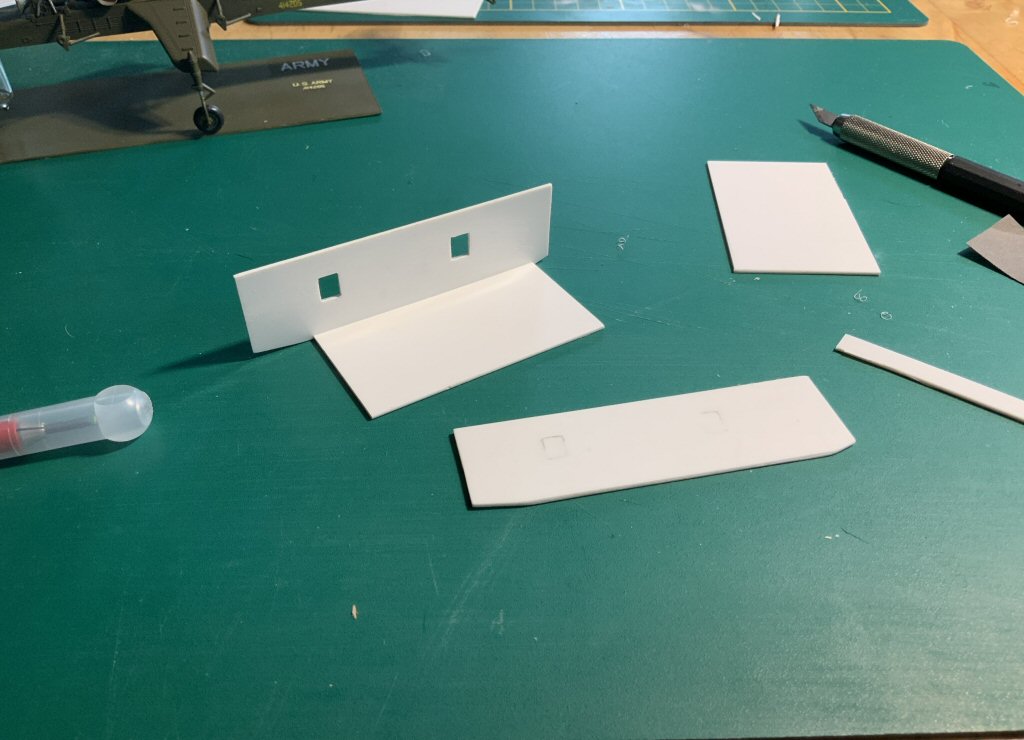
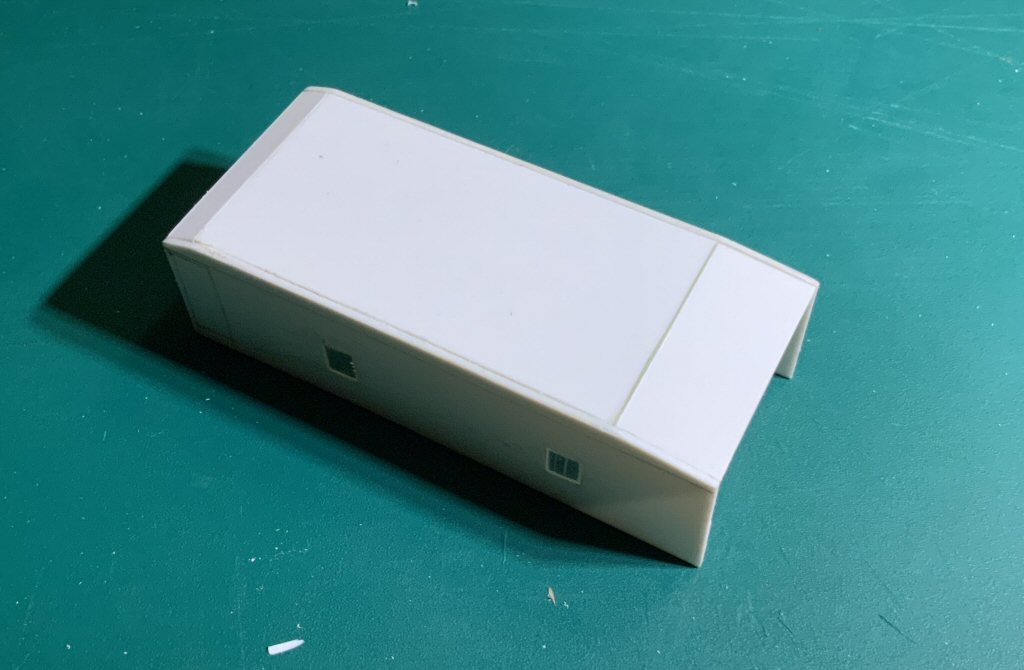
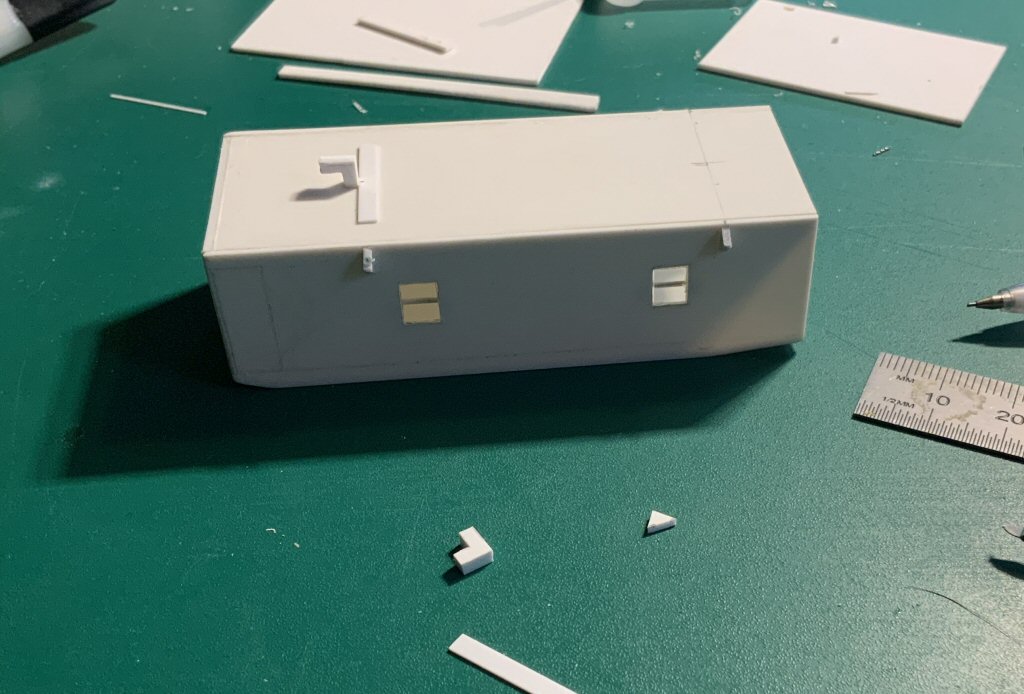
So I started with taking some measurements (asuming the drawing is on scale) And cutting the sides from evergreen plastic plates (0,5 mm thick)
here the section I made in close-up. I scribed the door and windows with my Tamiya scriber
And the other side
Then i cut out the bottom section
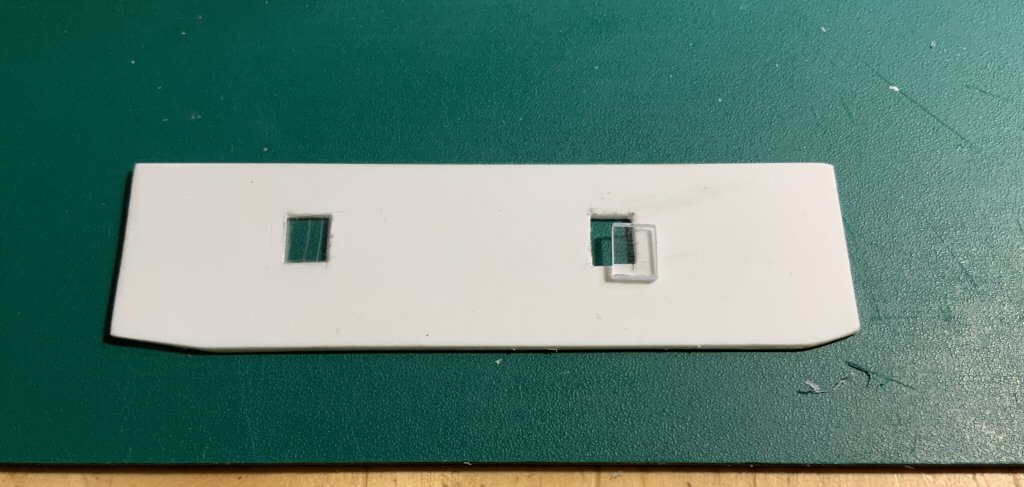
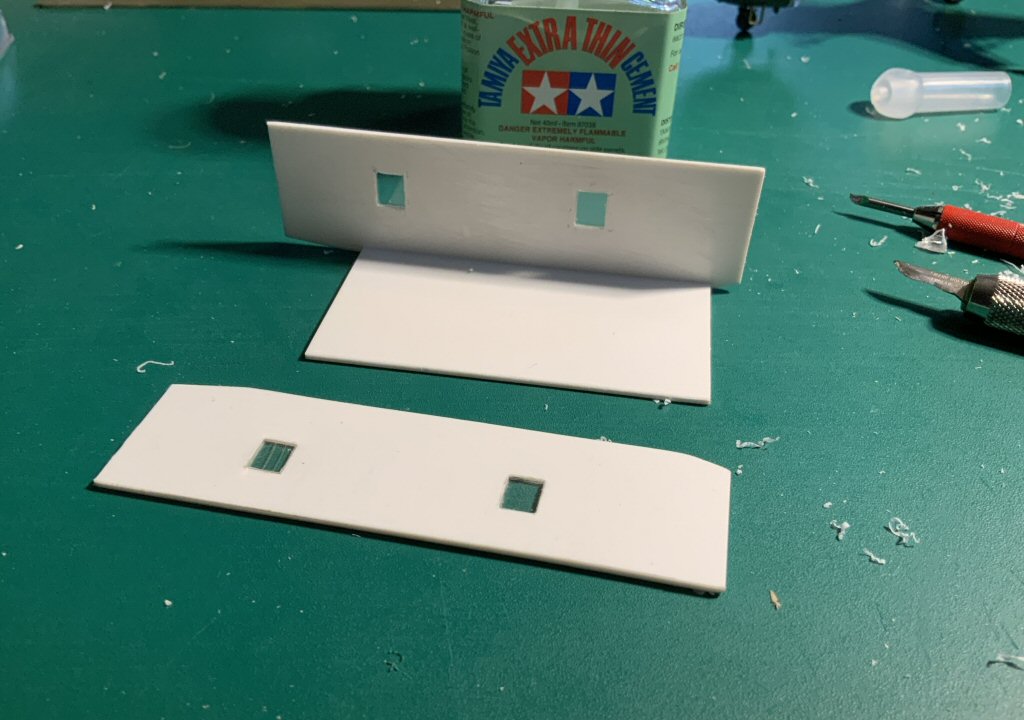
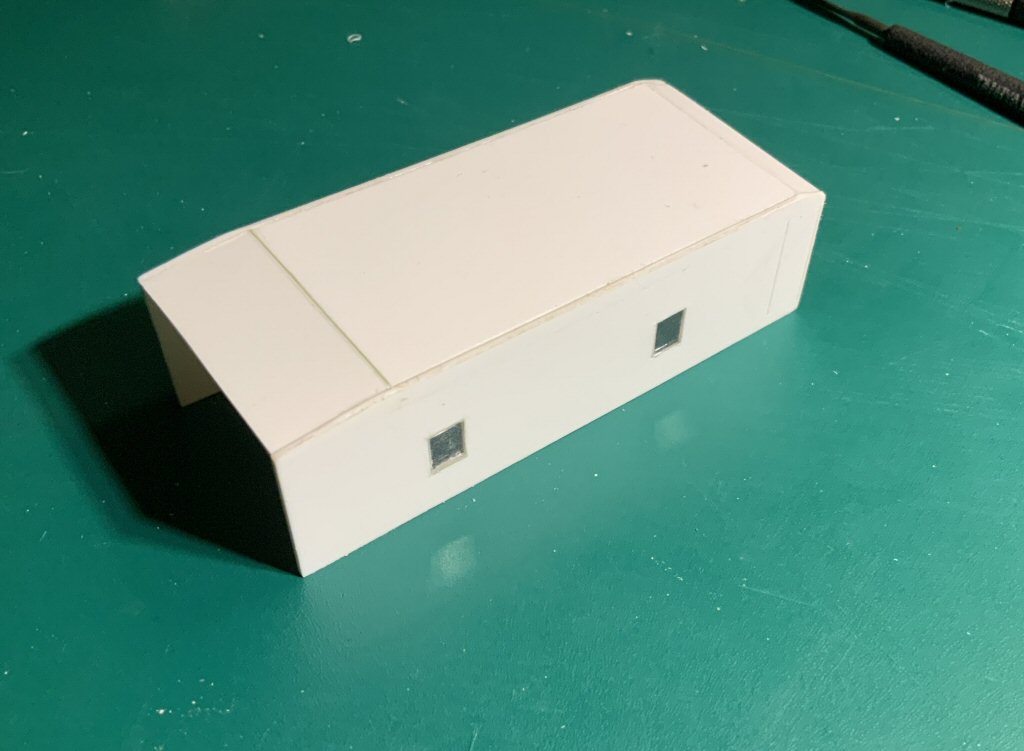
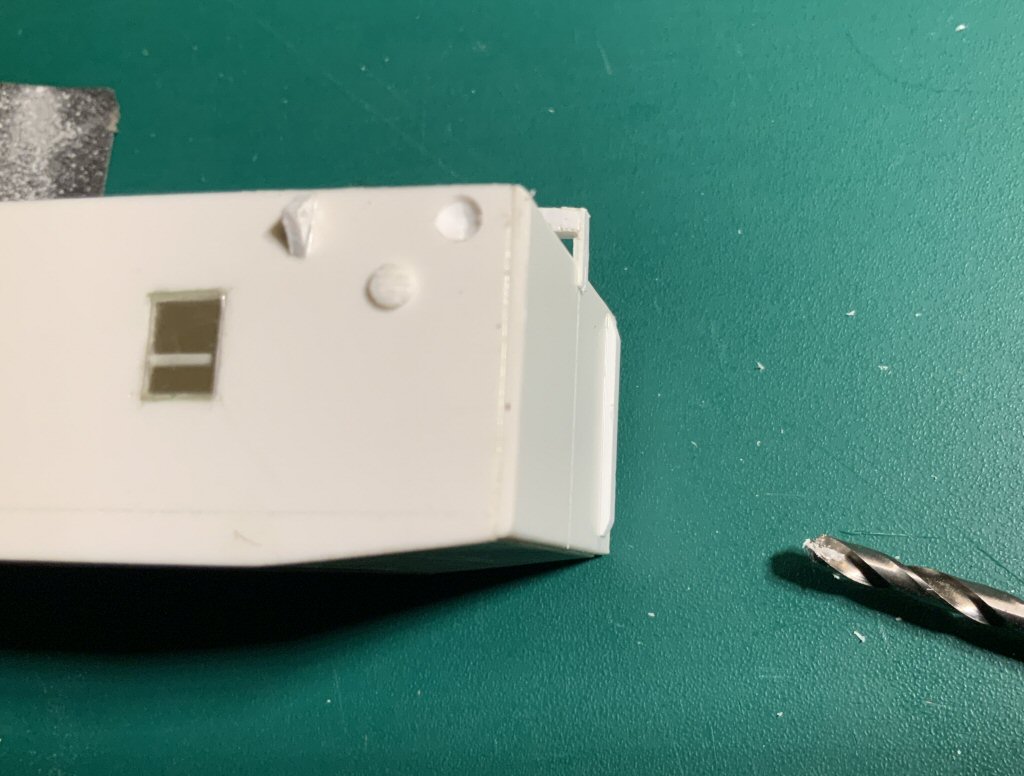
And for the windows, I used an old CD-box which is aprox the same thickness of the sheet (It still looks a little rough, but the windows were cleaned and straightened
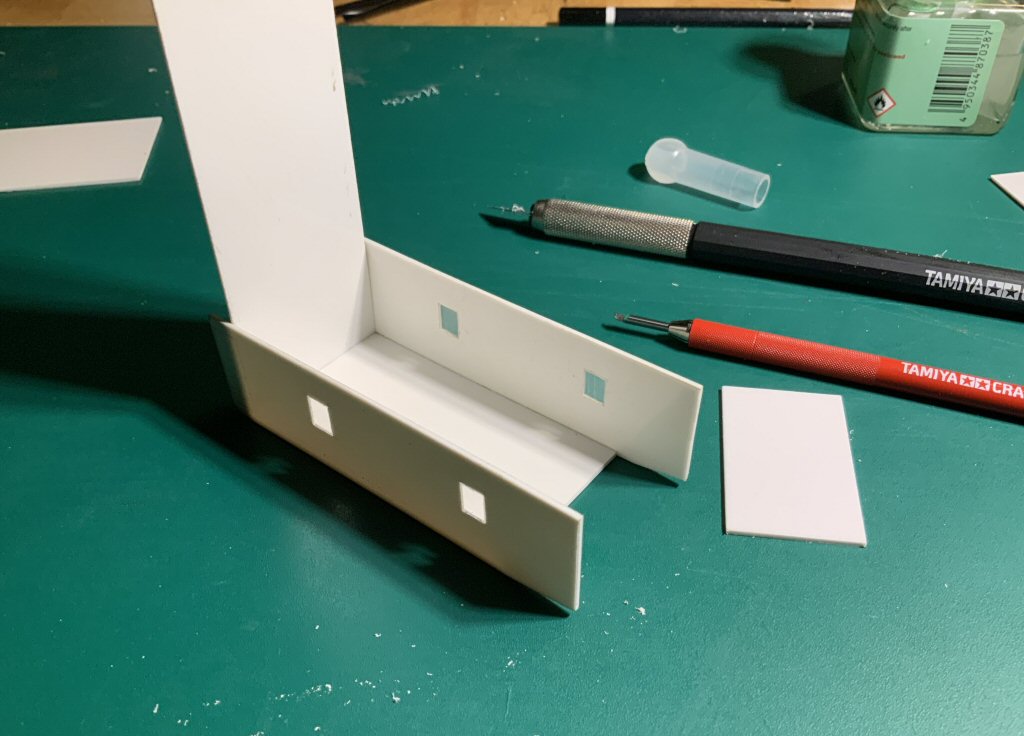
Then glueing the side parts to the bottom part
Cutting out the front and back sides so that it is straight
Completing the bottom section
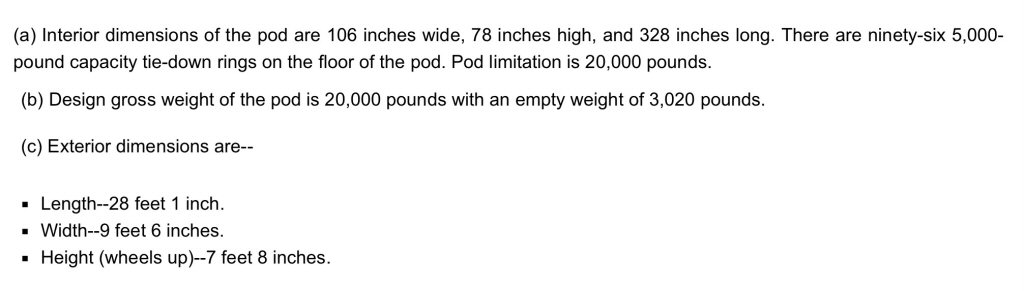
The Basic form is now ready...... oh no... it's not :( Of course i was searching for more info on the pod, and i found some info on the dimensions : The following comes from the FM 55-450-2 (Army Helicopter Internal Load Operations)
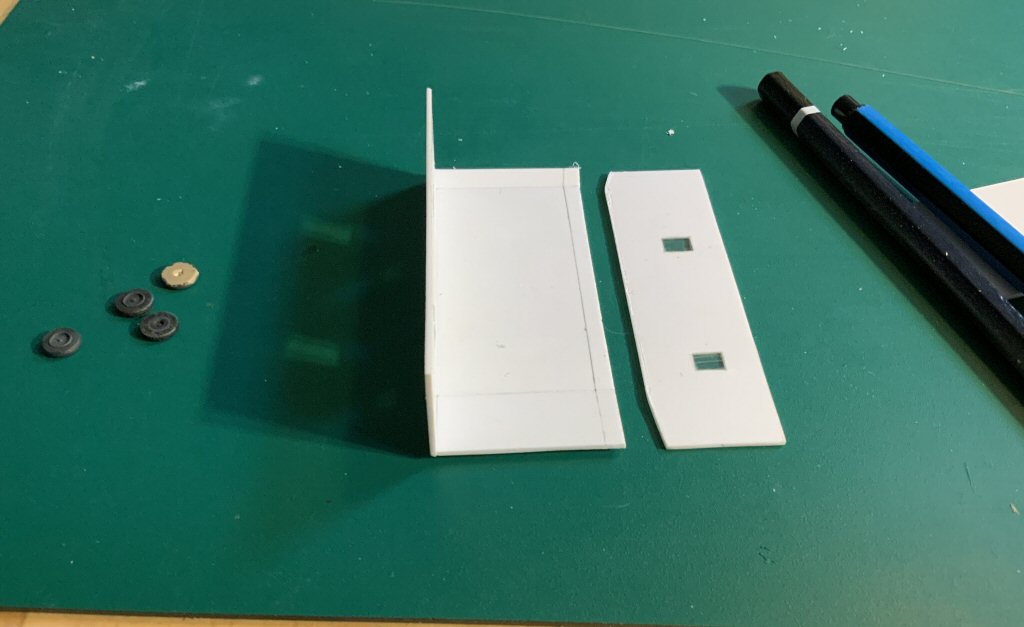
So mine was a little too wide ! I had to (carefully) cut one side off and remove the excess
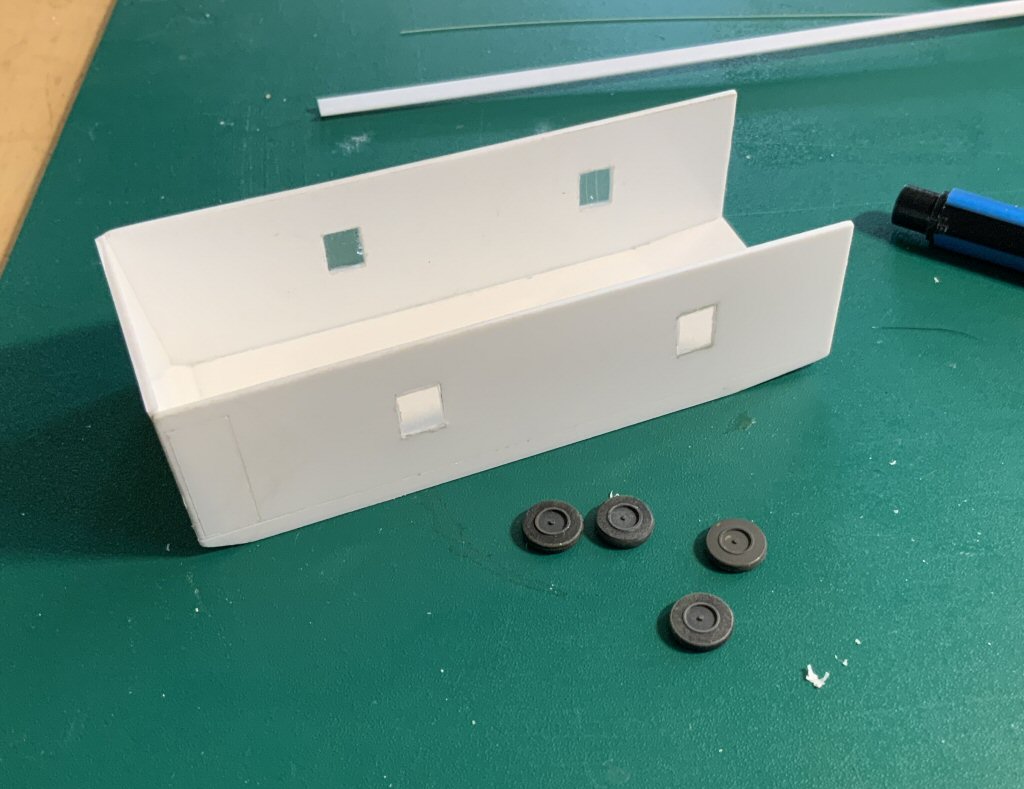
And re-attach it..... You also see the wheels i found, they are the roller wheel of an old Pz.Kpfw. IV (1/35) and they were only a very little bit too big in diameter, but i can live with that)
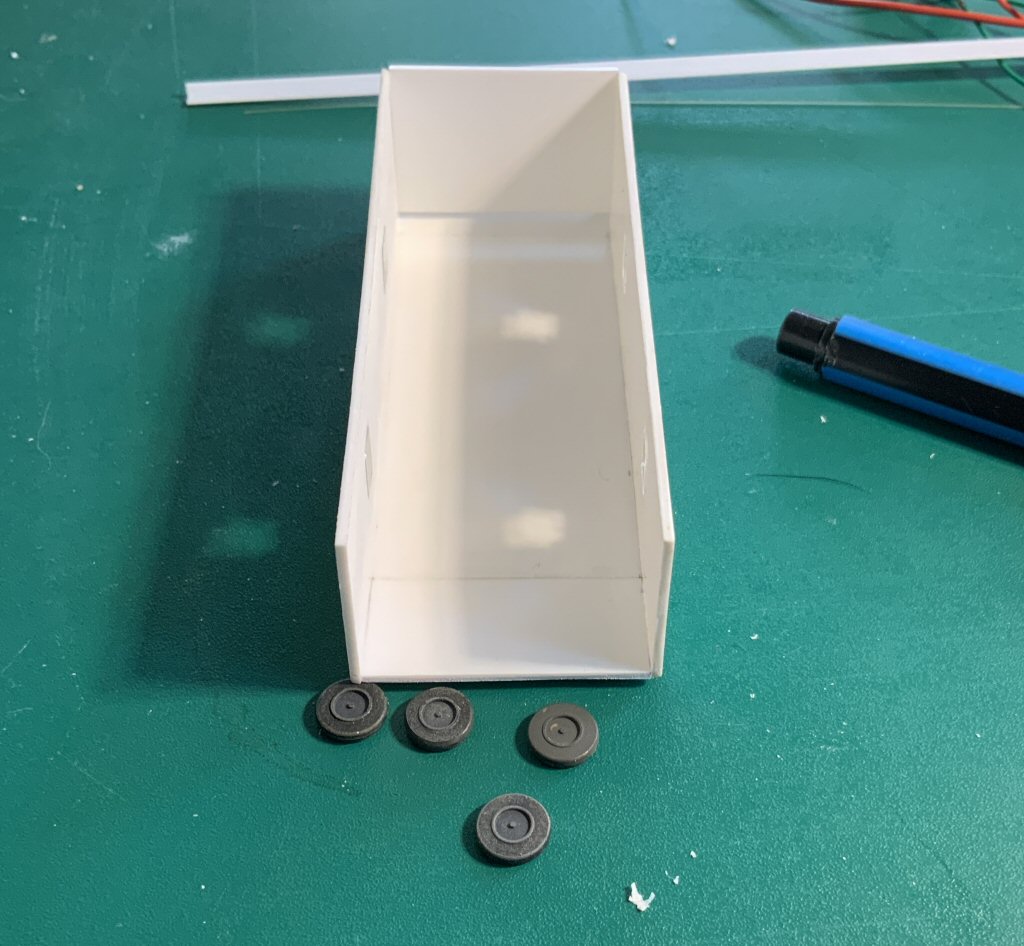
The right width :)
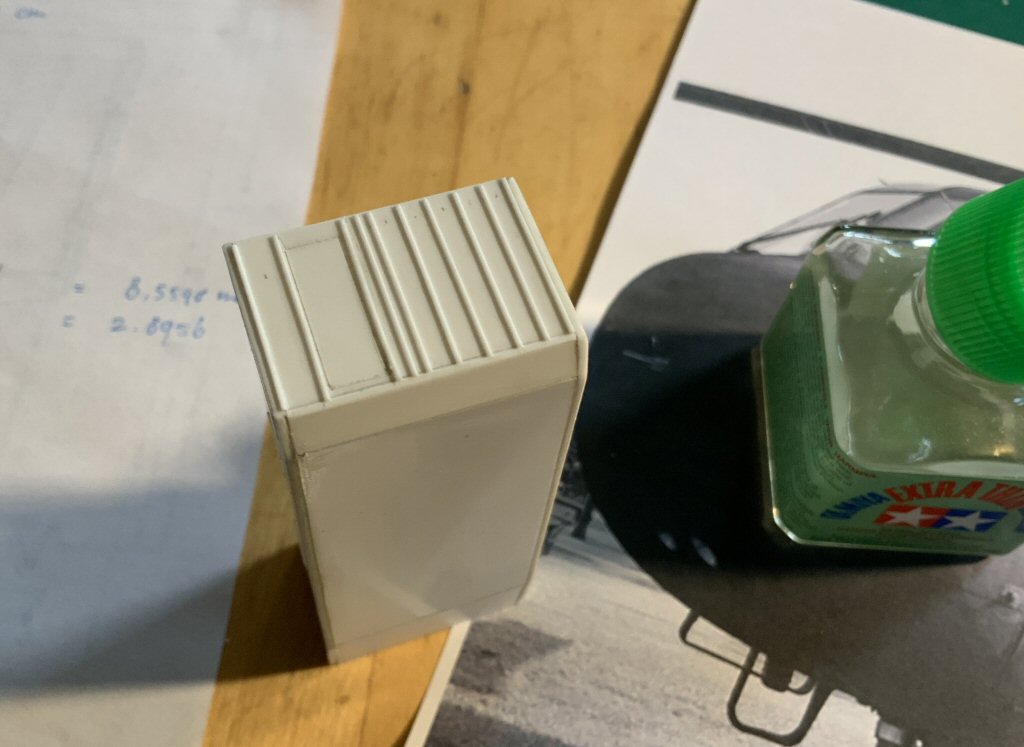
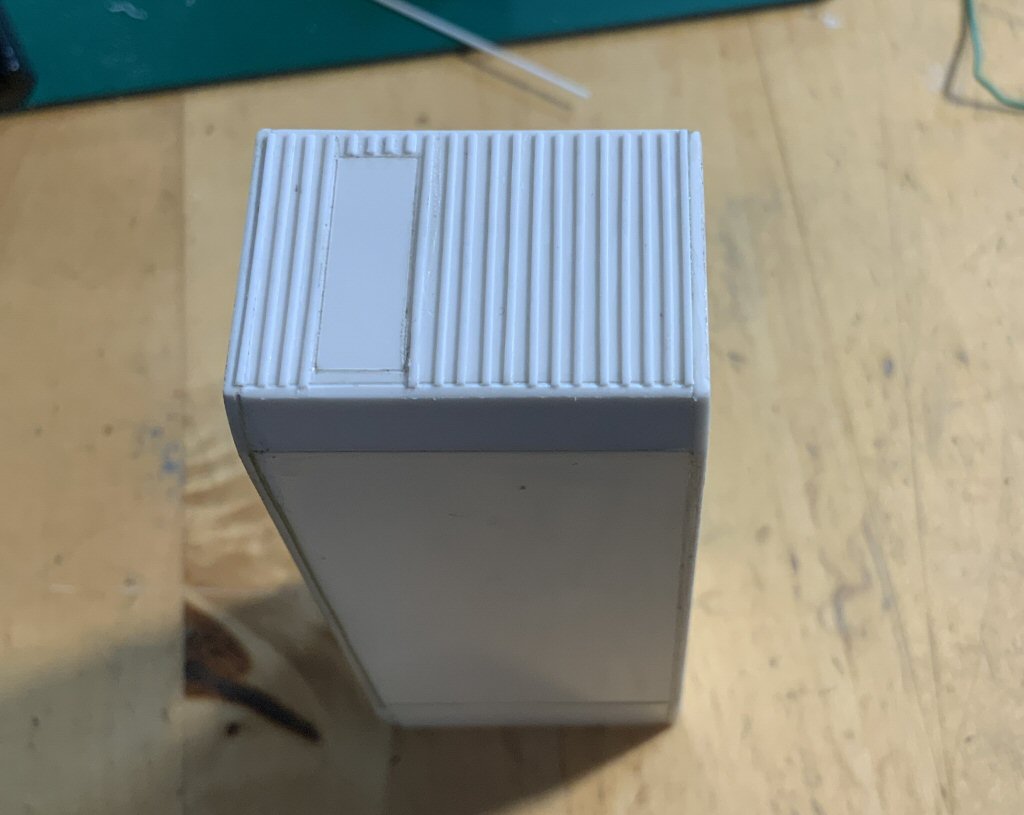
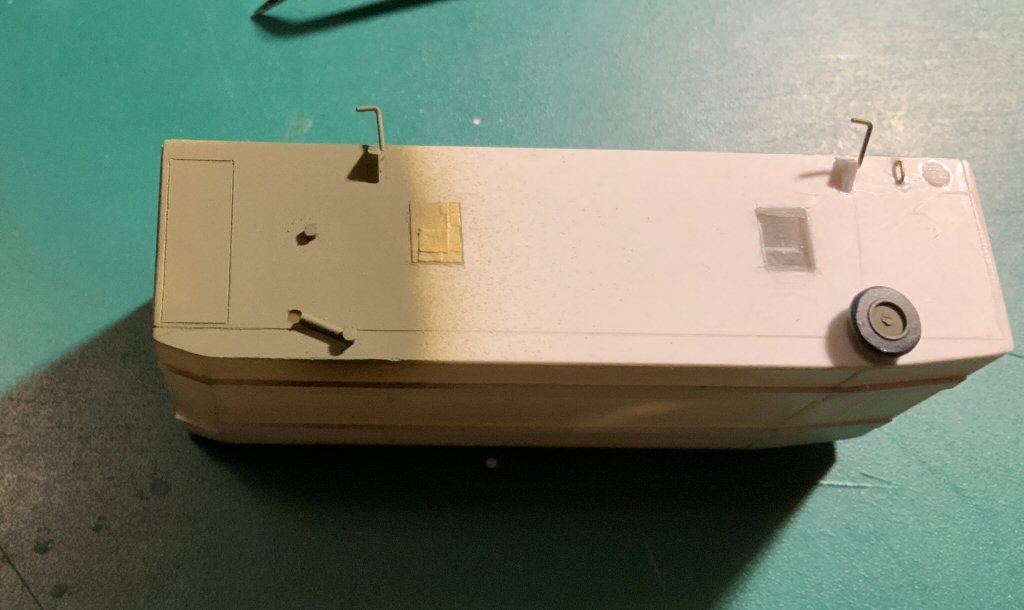
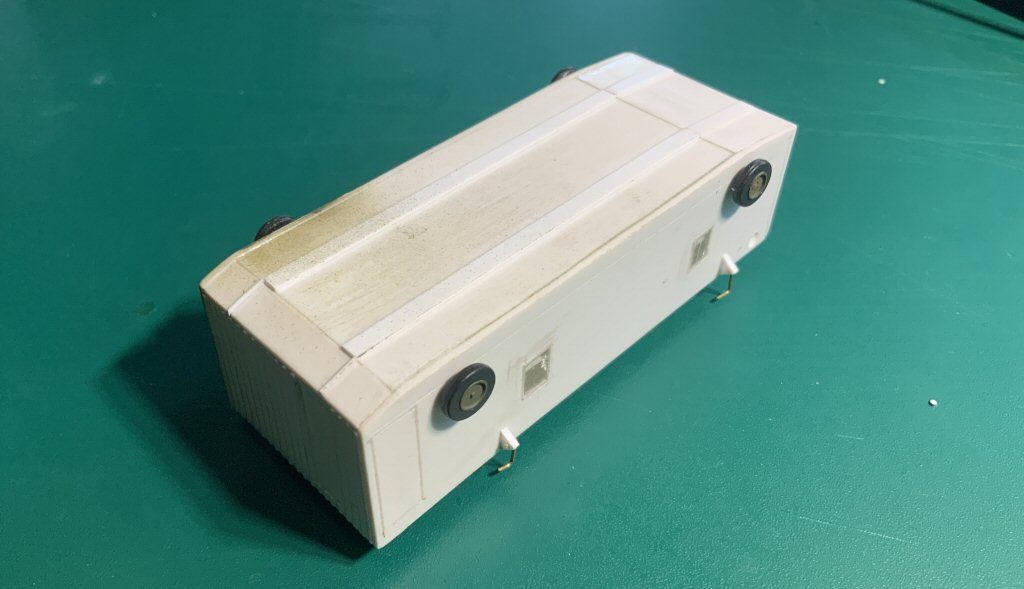
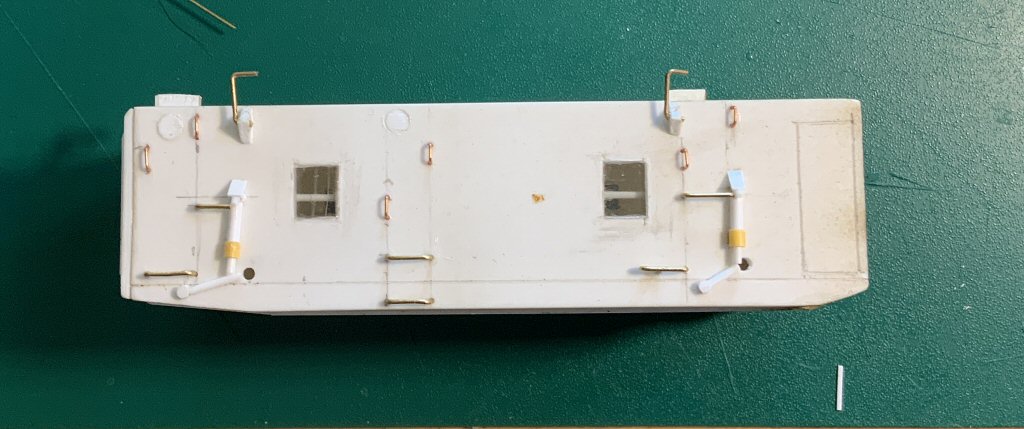
and finaly some progress : adding the smallest evergreen strips there are (nr. 100 : 0.25 x 0.5 mm)
all the strips added
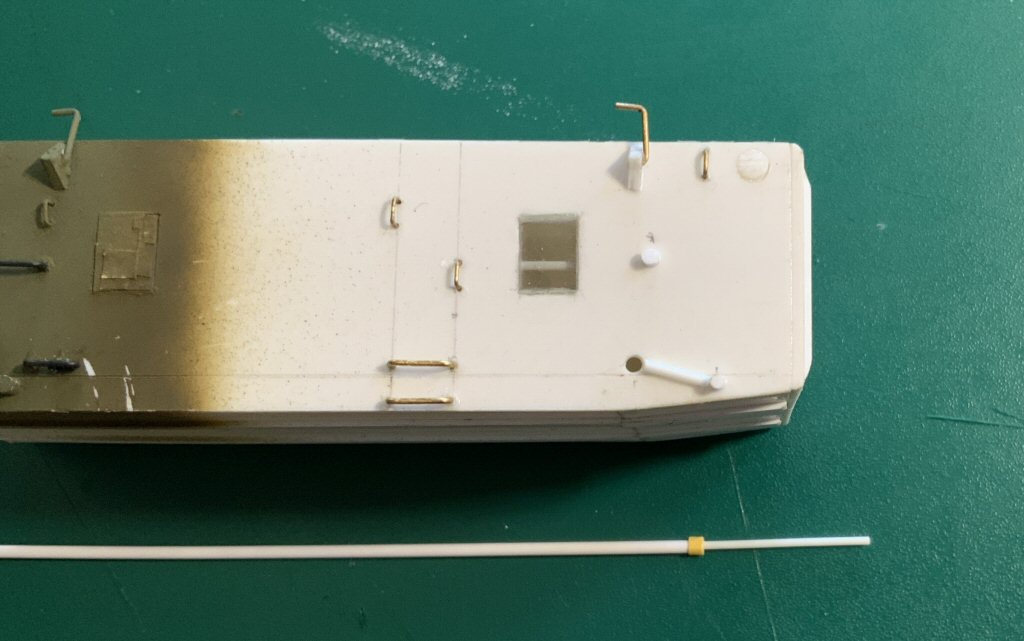
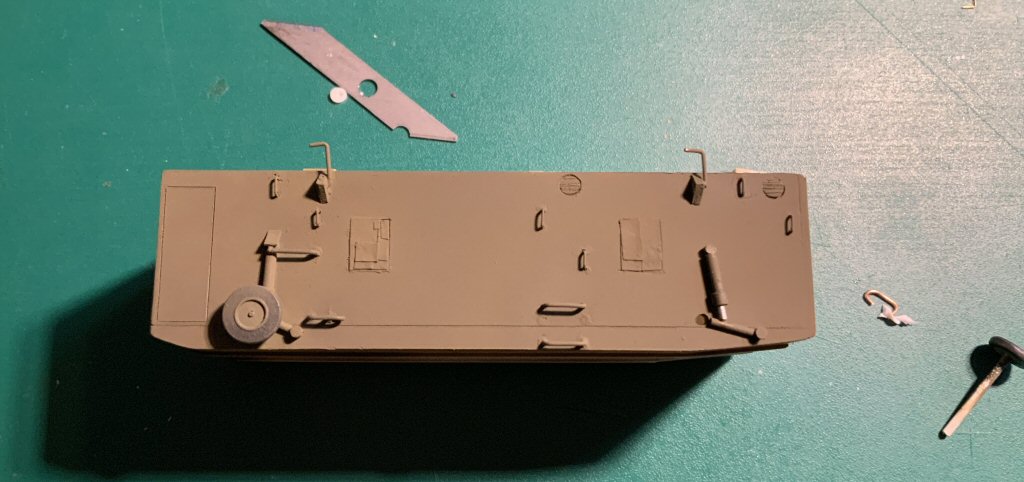
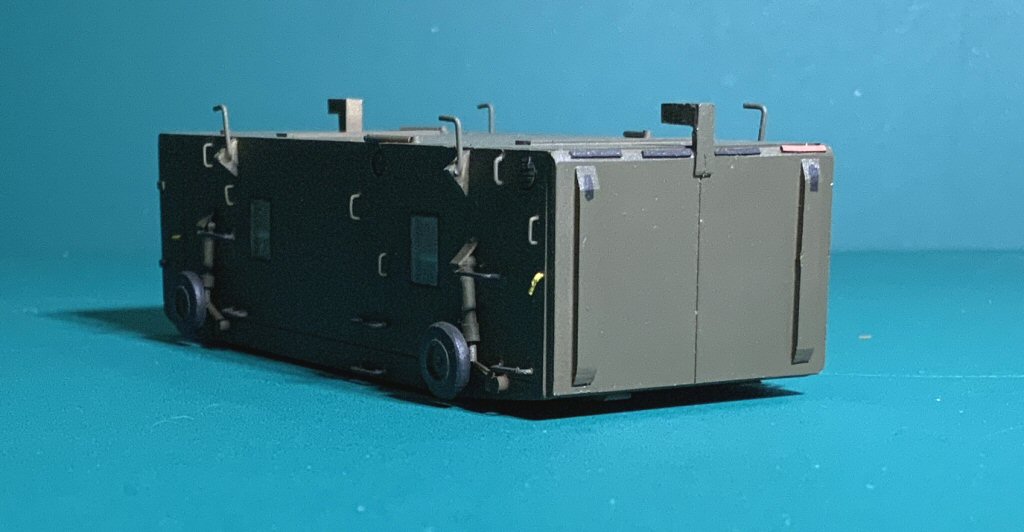
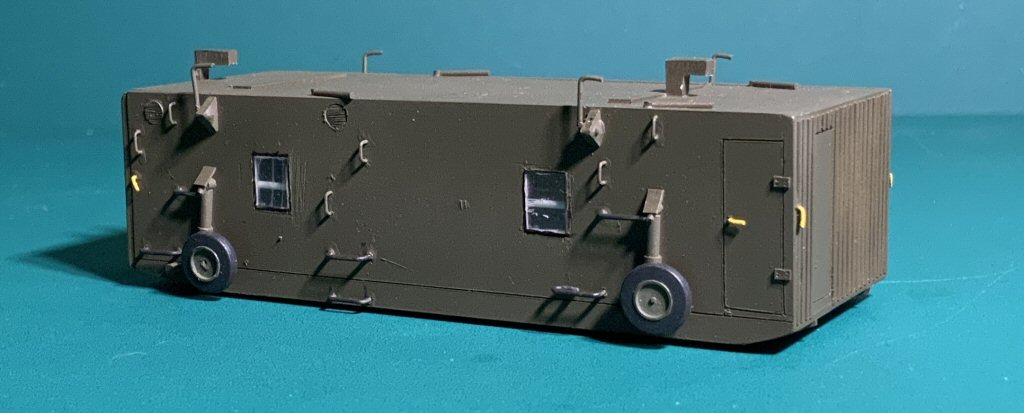
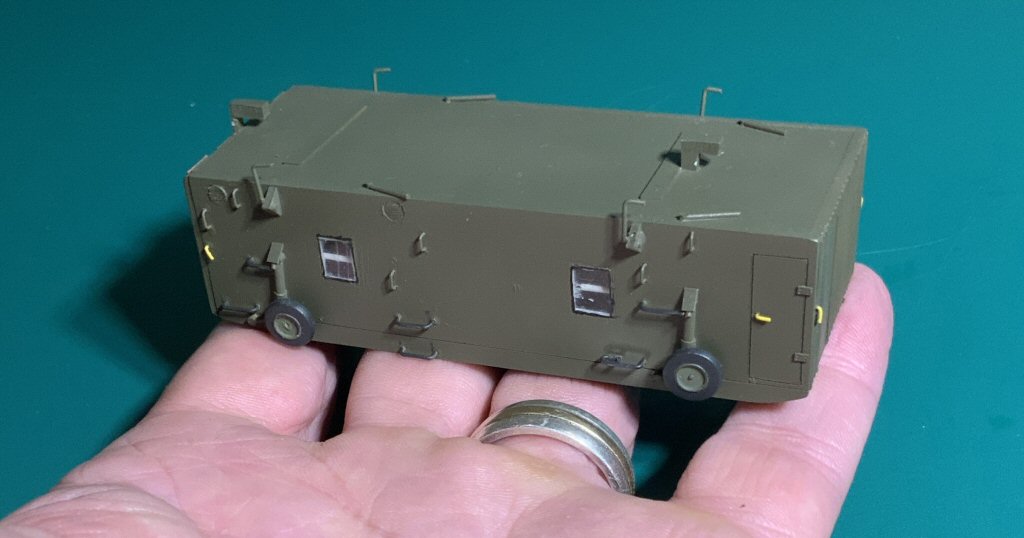
Then it was time to install the roof, the mooring clamps (the small tri-angle you see in the front, and I made the small hooks to hang the pod into the skycrane (they were not really there of course but it is the same style Tamiya used on their pod) Also small rods were installed on the inside of the pod to simulate the bars on which the troop seats were installed
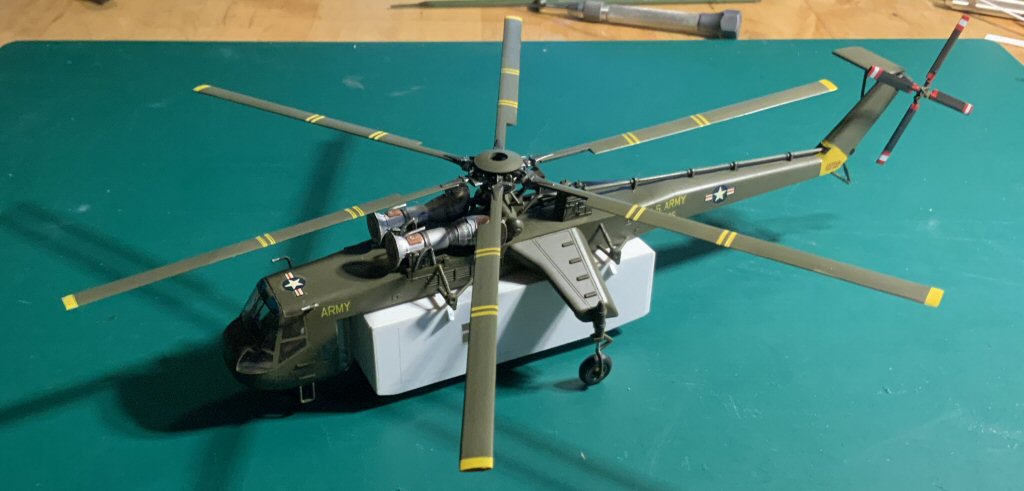
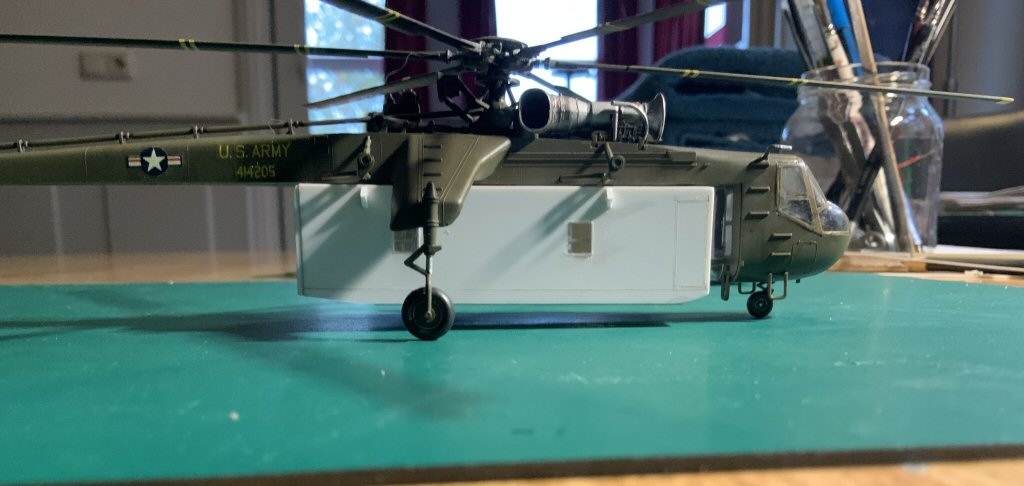
Time to test fit the pod (fits perfectly :) )
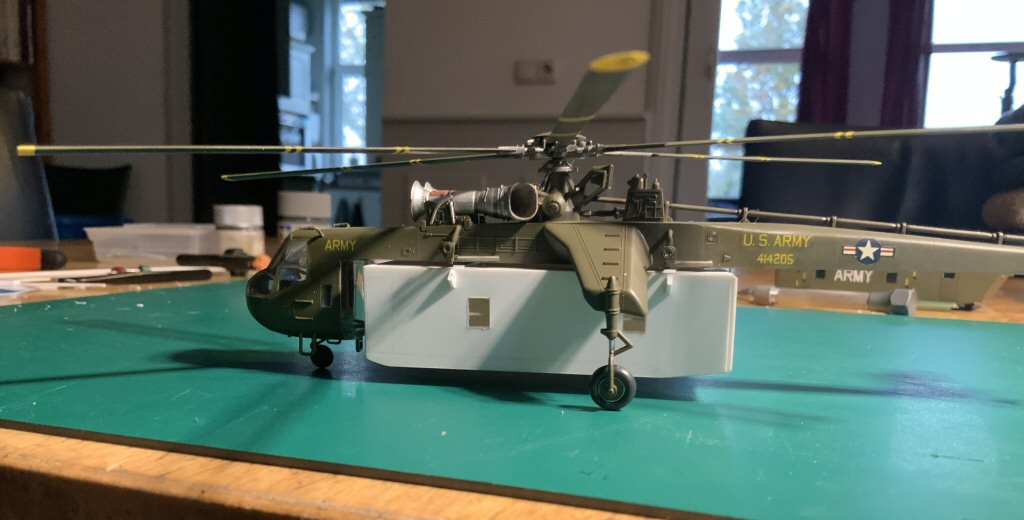
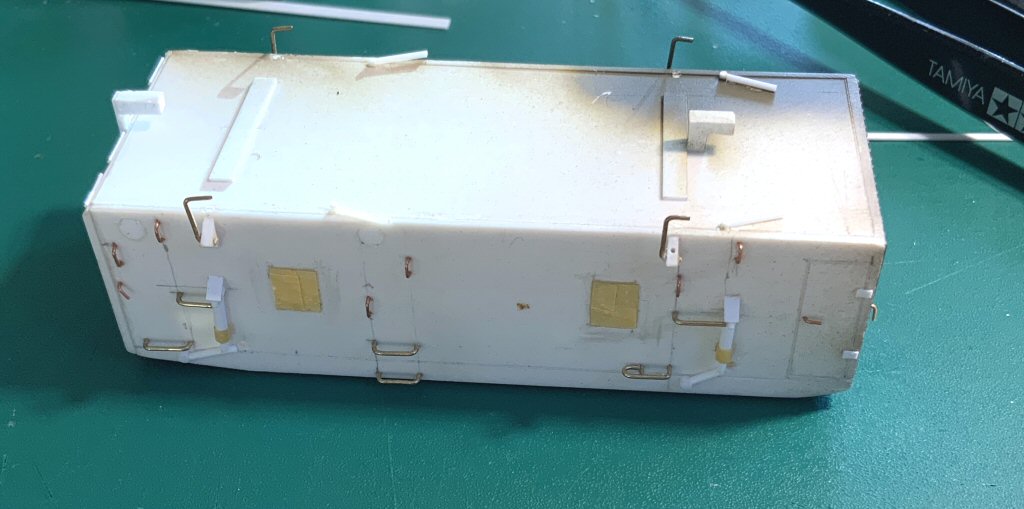
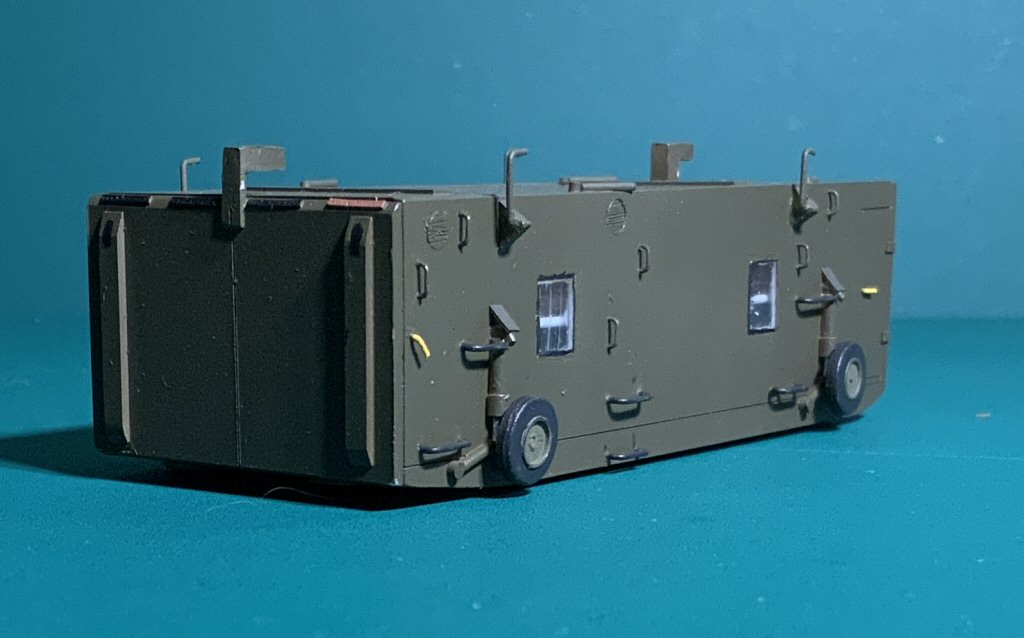
So let's continue with the pod. The next thing i wanted to do was install the air inlets. So i took a little piece of rod (2,8mm) and with my panel liner made a few lines. Then i drilled a hole with a 2.8mm drill to fit the air inlet.
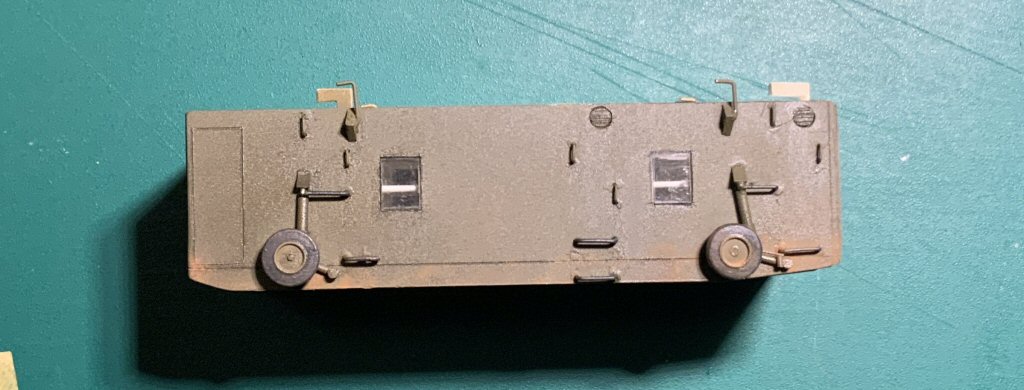
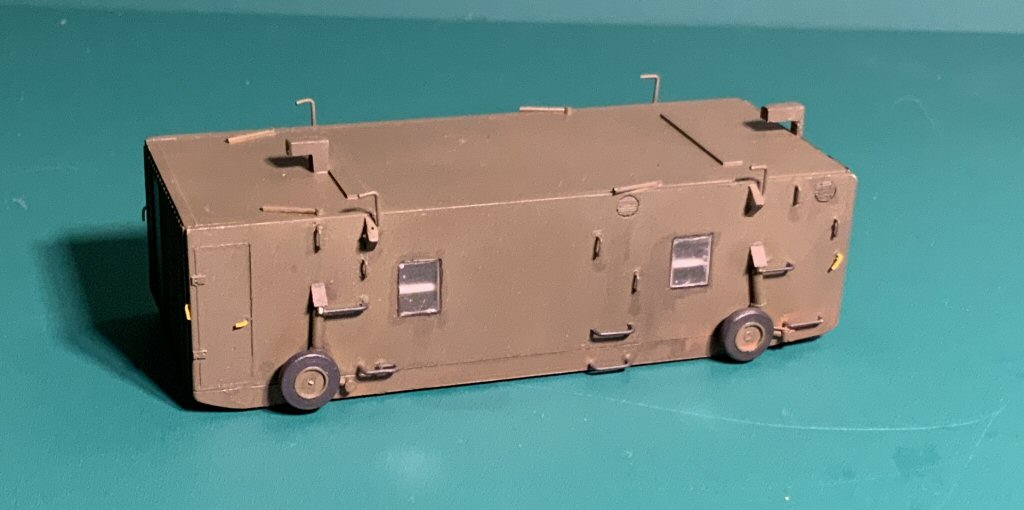
Another test fit, and the place of the wheels was decided. I still have to build the hang-up system for the wheels. Also decided to place the wheels in the upper (retracted) position
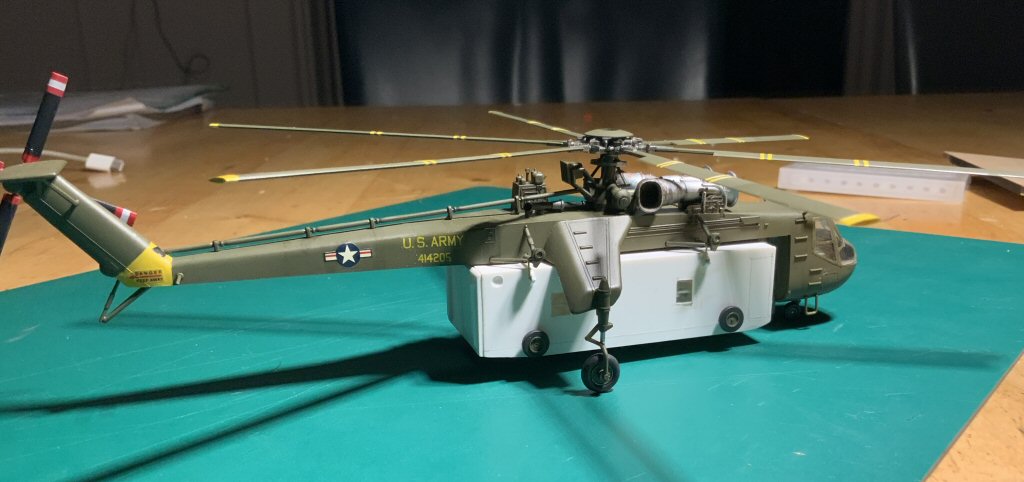
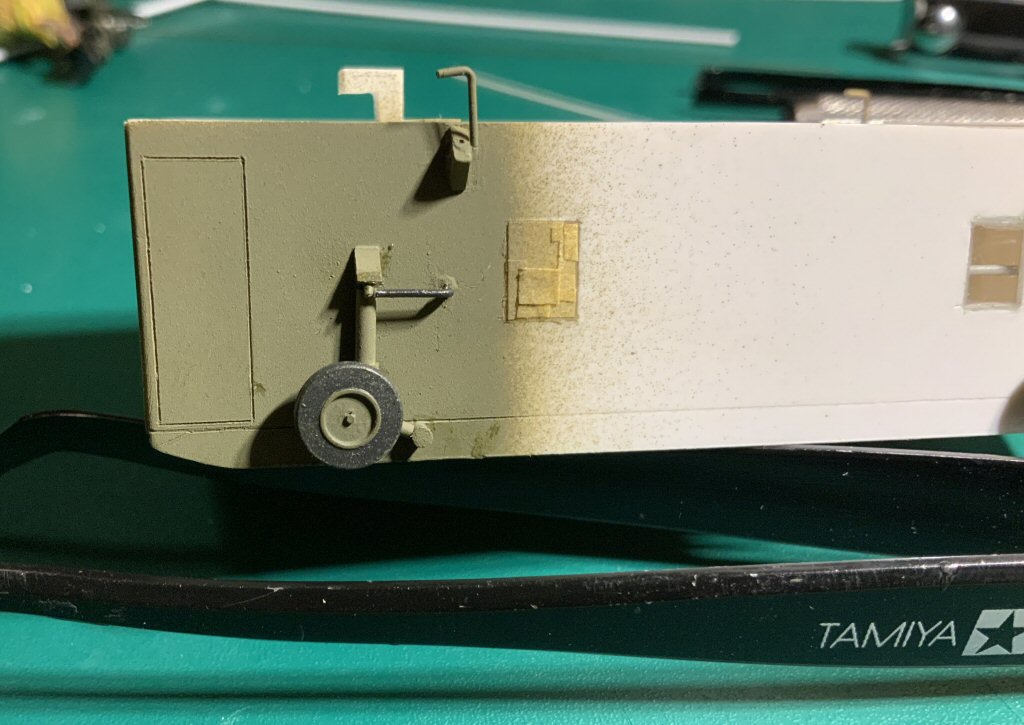
Some work at the suspension, and painted olive drab (I always paint before i put on parts ... just my way of working)
And the handlebars
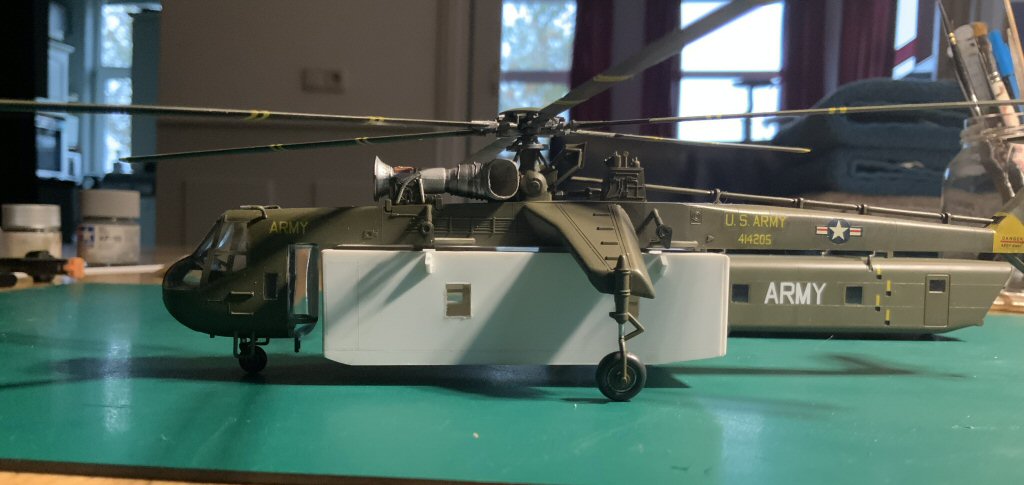
Also the reinforcement strips at the bottom were re-created
And a LOT more handlebars and steps ;)
|
Created, maintained and Copyright © 2004 / 2023, Tom (remove SPAM from email adress)
|
|